#
Blueprint Setup
Add StatusVFX Component Add StatusVFX Interface Implement StatusVFXComponent Getter Optional - Add Example Test-Events Optional - Enable Uniform Sampling on Skeletal Mesh
#
Step 1 - Add StatusVFX Component
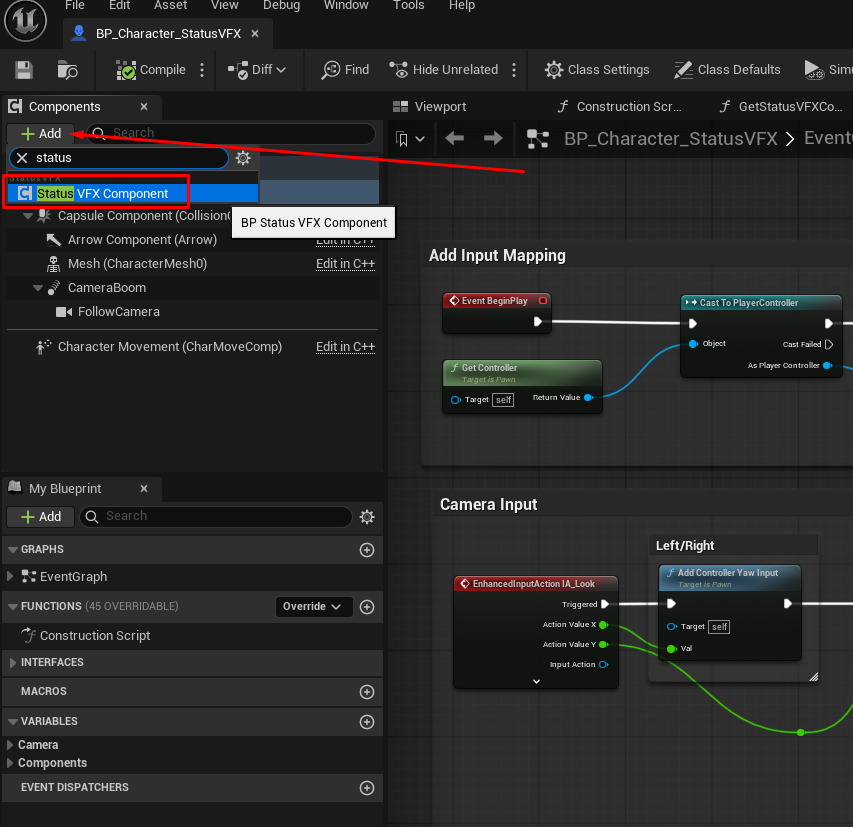
Open up your character blueprint and add the actor component: Status VFX Component. This component drives all core-logic, like applying the individual StatusVFX, keeping track of the duration of each StatusVFX etc.
#
Step 2 - Add StatusVFX Interface
Go into the Class Settings and add the Status VFX Interface.

#
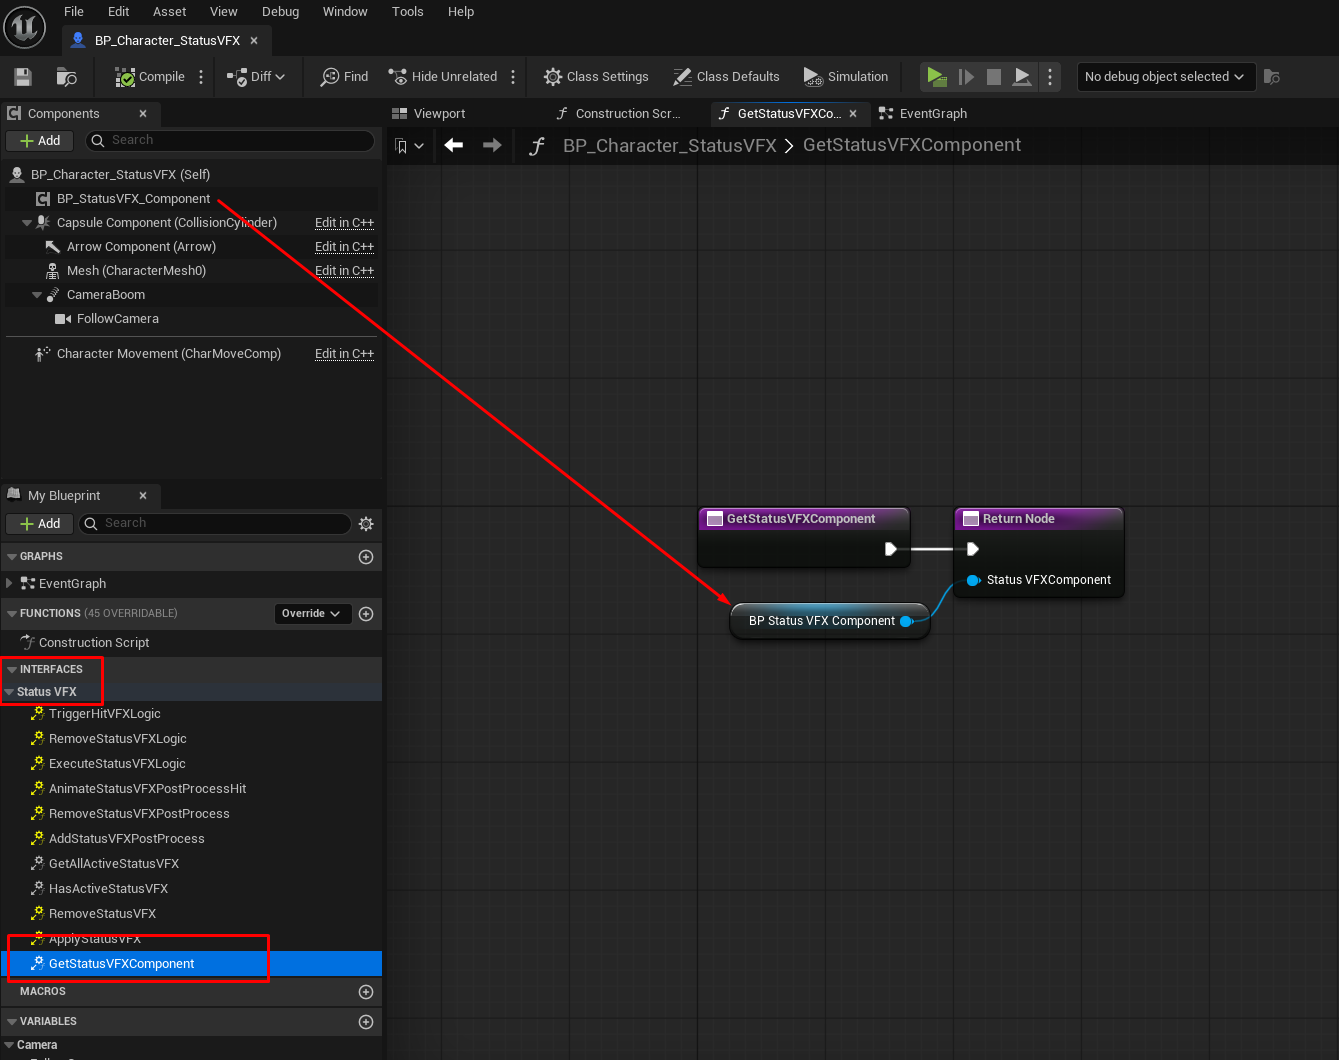
Step 3 - Implement StatusVFXComponent Getter
Find and open the interface function: GetStatusVFXComponent. Drag your newly created StatusVFXComponent into the return value. This way, we can get the StatusVFXComponent as a scene component without creating a hard-reference to it.
In theory the setup is done at this point. It's worth checking out the two optional steps below.
Also check out the Blueprint Functions Guide & Niagara Guide after you are done here.
#
Step 4 (Optional) - Add Example Test-Events
Open up the demo character and copy+paste the example functions into your own character. These allow you to apply the StatusVFX via keyboard shortcuts (1-7):

#
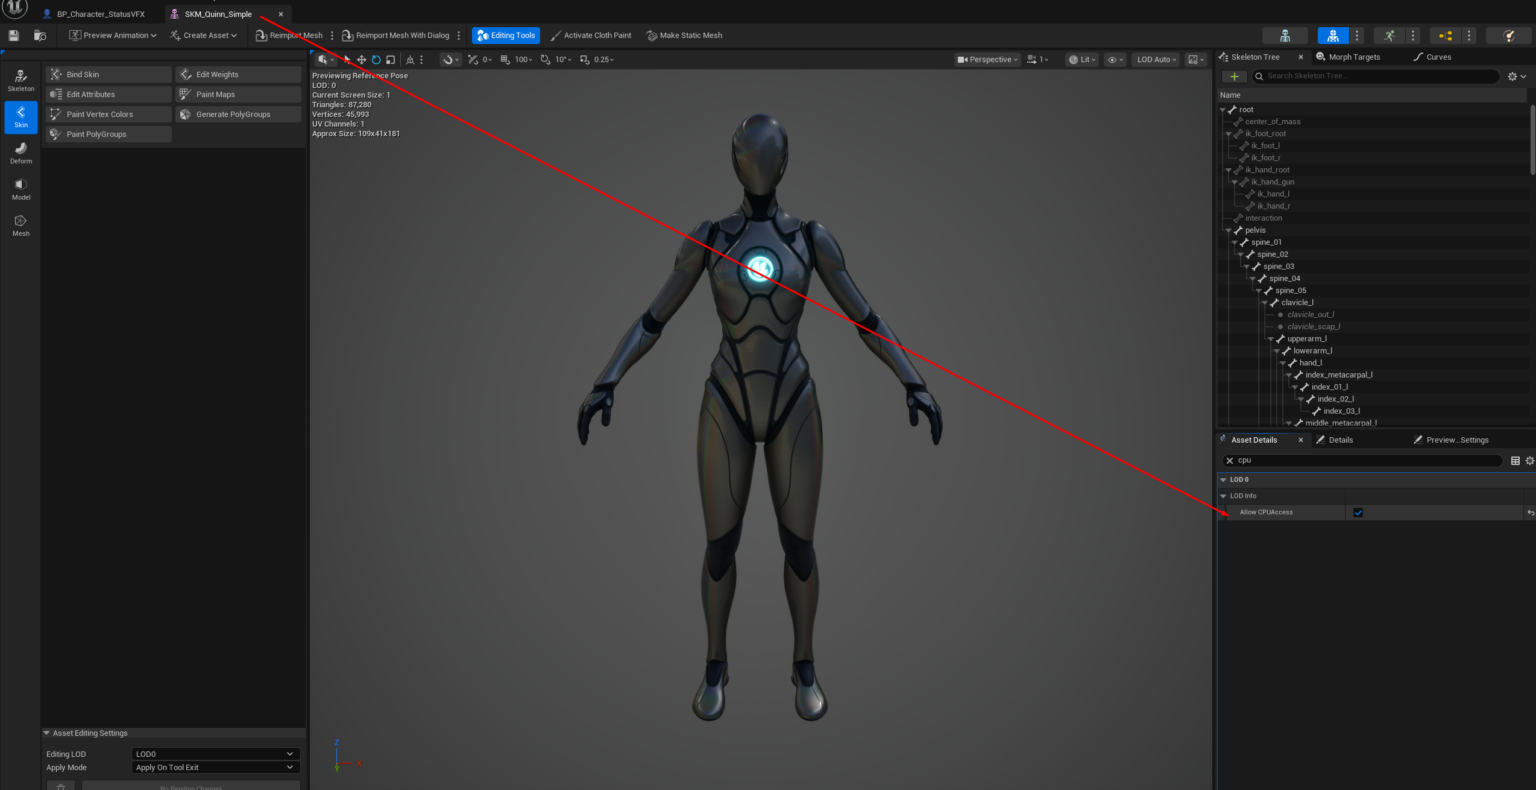
Step 5 (Optional) - Enable Uniform Sampling on Skeletal Mesh
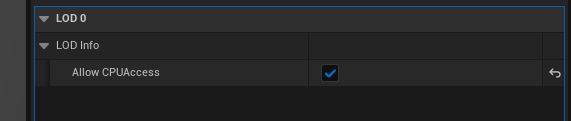
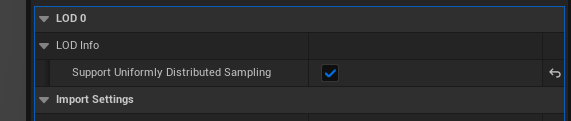
To improve the skeletal mesh sampling used in the Niagara effects, we want to allow Niagara to sample the Skeletal Mesh uniformly. We need to enable this directly inside the Skeletal Mesh itself. Tick both the ‘Allow CPU Access’ and ‘Support Uniformly Distributed Sampling’ tickboxes.